 Sunshine Days
Lettering

Today, I thought I’d walk you through my lettering process. It doesn’t involve much technology until the end. I’m not dissing technology – I use it to scan & perfect my work. But don’t feel like you have to have the fanciest tablets & apps to start learning to letter. Simple pencil & paper work great to get started!
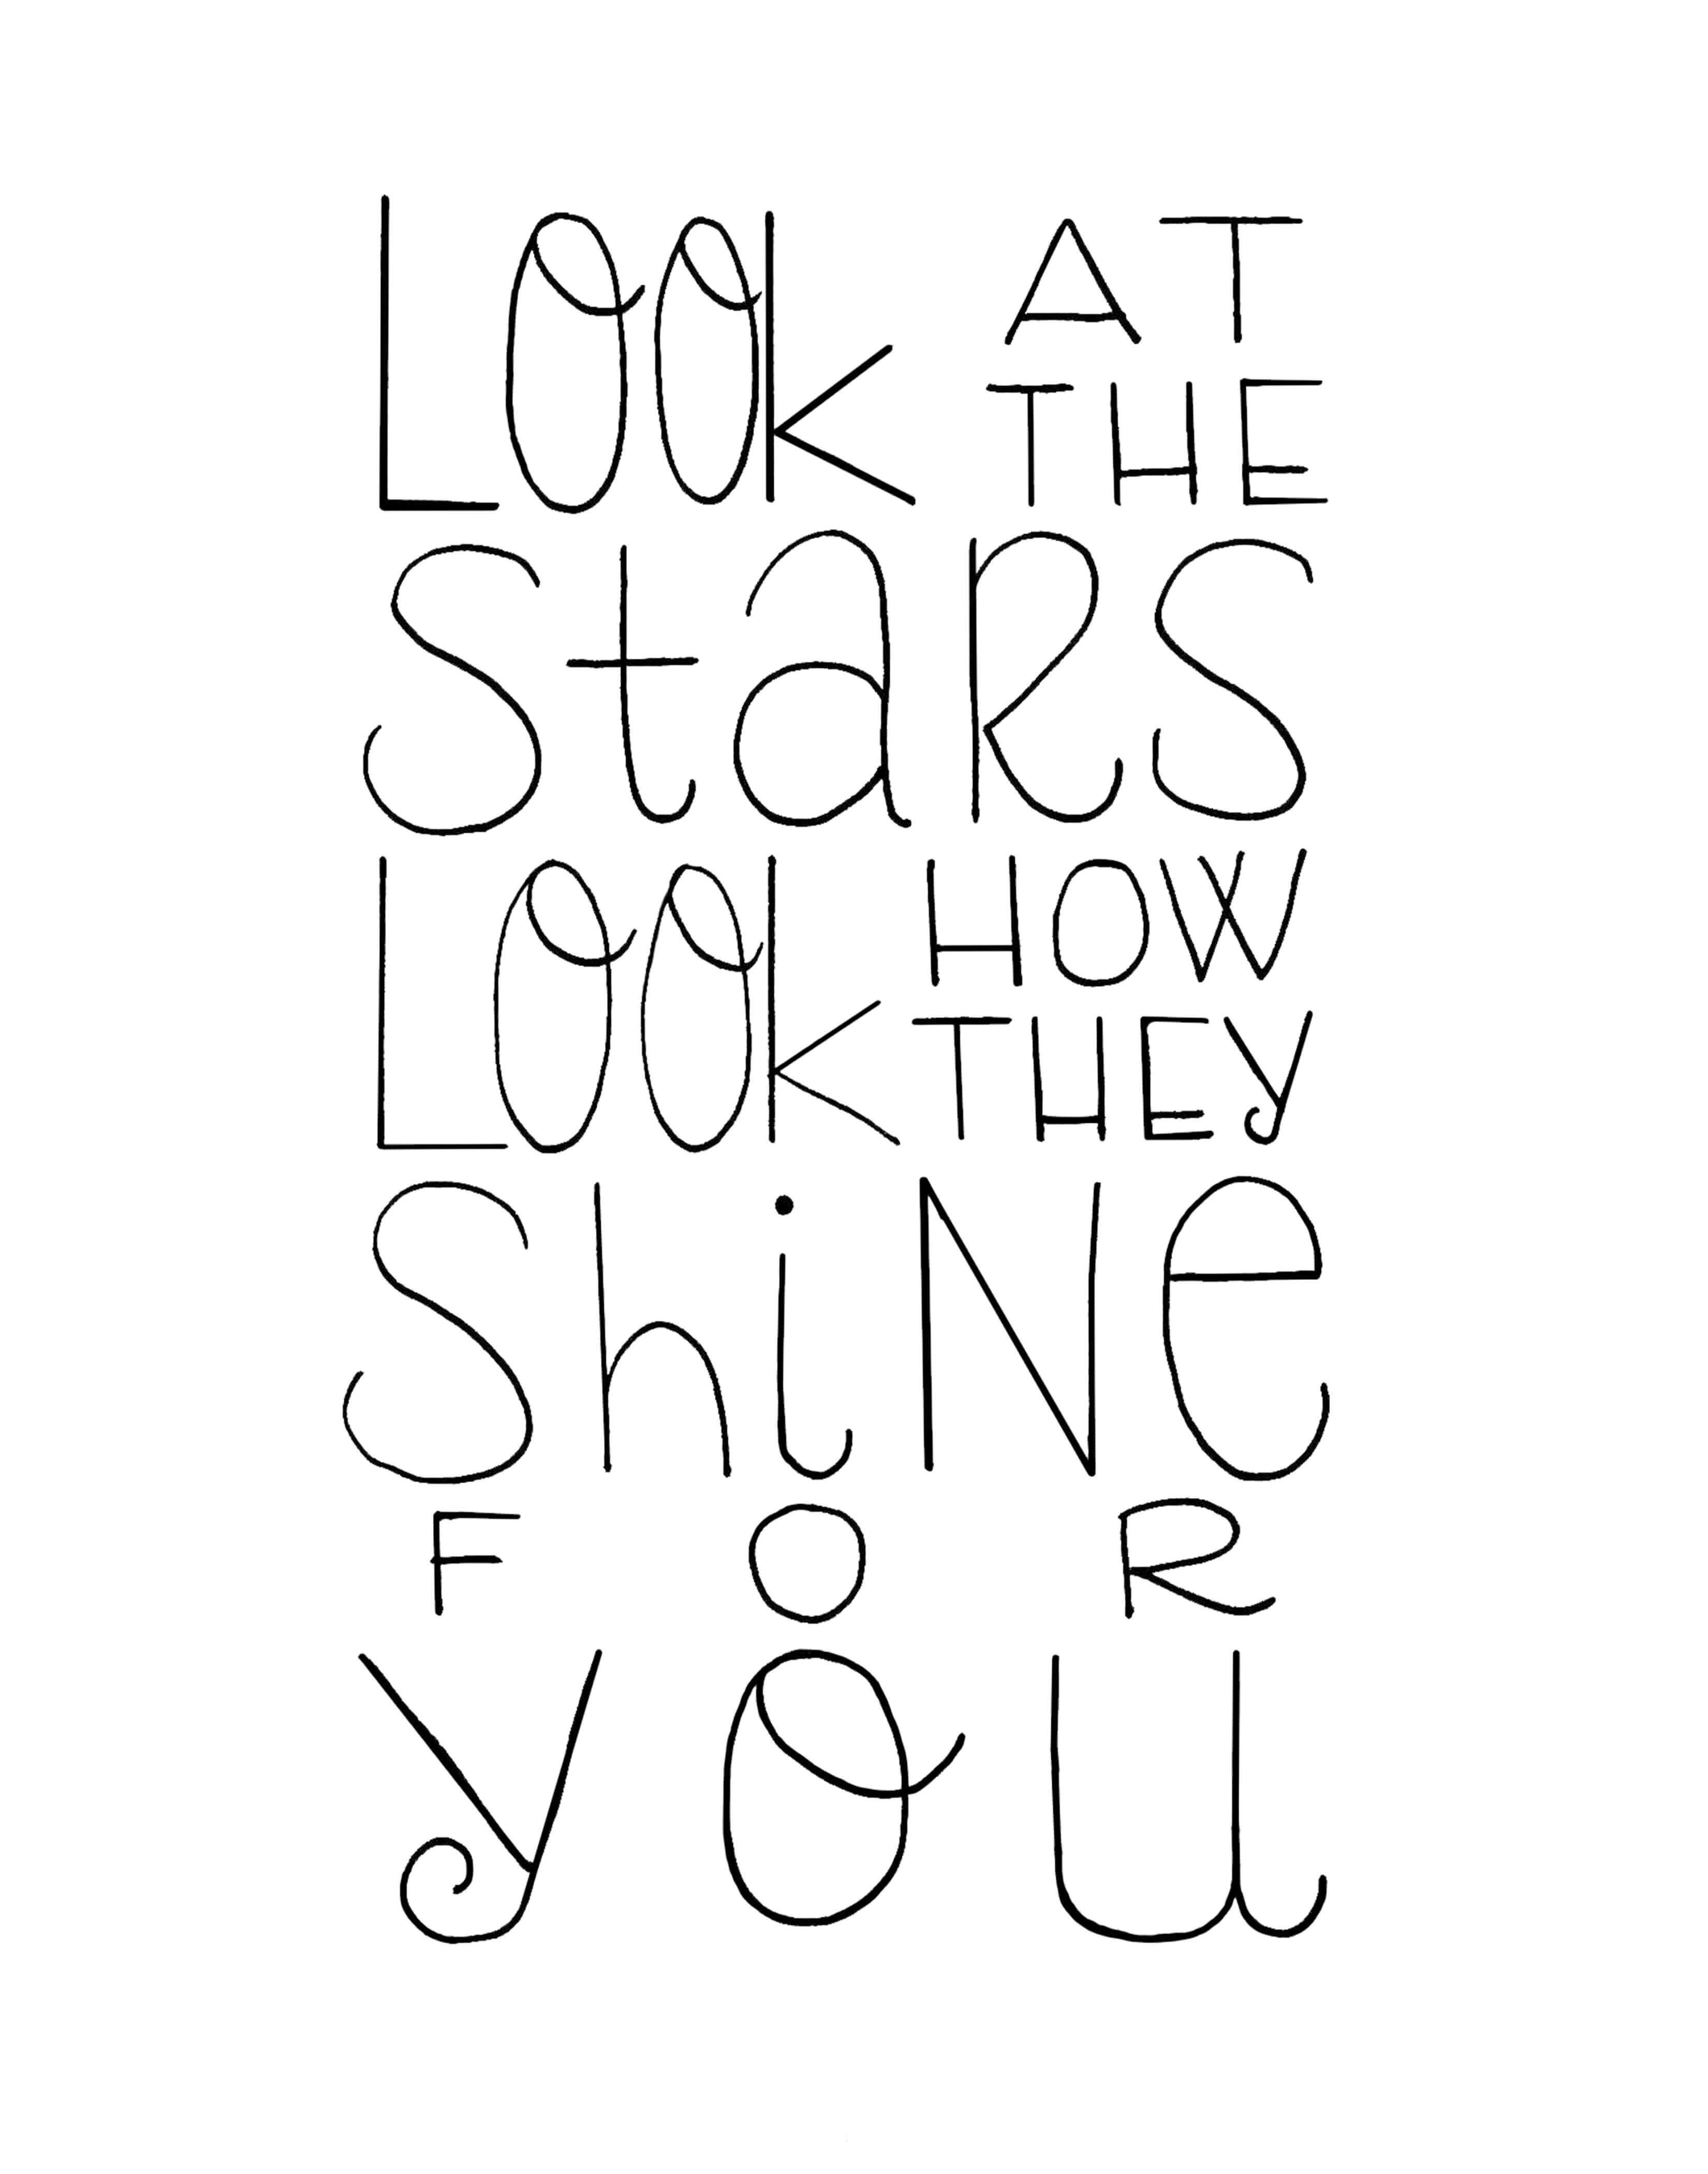
Let’s take a closer look at my “Look at the Stars” piece.
This was a piece that I made for my nephew’s nursery. His mom (AKA my sister) wanted to use a space & star theme in his room. She came up with a handful of quotes, Bible verses, & song lyrics that went with that theme. We narrowed it down & I went to work!
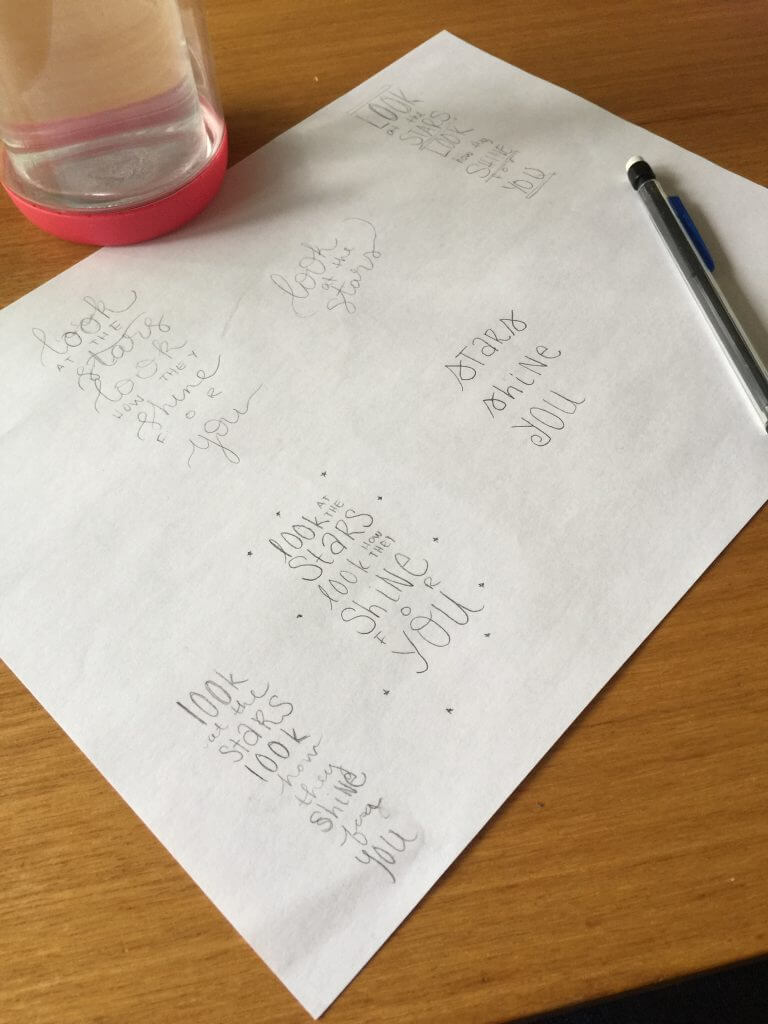
So, the first thing I usually do is sketch some ideas of how I’d like the piece to look. I play with fonts, layouts, spacing. Sometimes, I already know in my head what I want to do. Other times, it takes a little bit (or a lot!) of sketching before I’m happy.
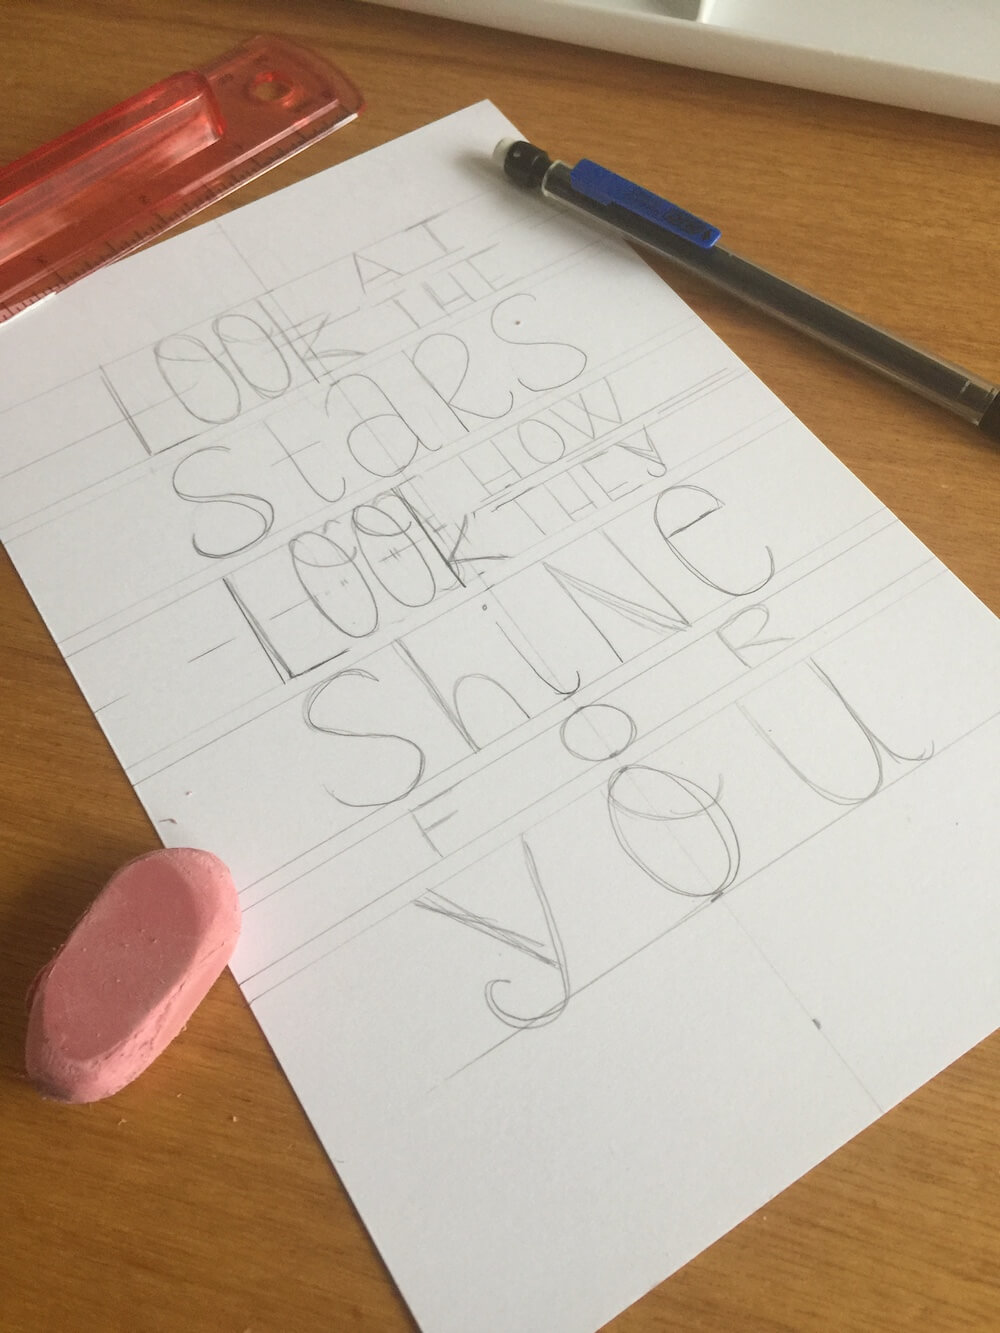
Next, I set up my paper. For pieces like this one, I want everything to be level. To achieve this, I make a LOT of straight lines to guide me. (Some people use a laser level like this one, but I’ve stuck to the old-fashioned ruler so far.)
Then, I start writing! For this one, I chose to letter the main words with a mixed font – alternating between upper & lower cases, cursive & print. I think it plays up the whimsy of the lyrics. The less important words are in a plain sans serif font to break up the more embellished font. Mixing fonts is a great way to add some personality to a piece.

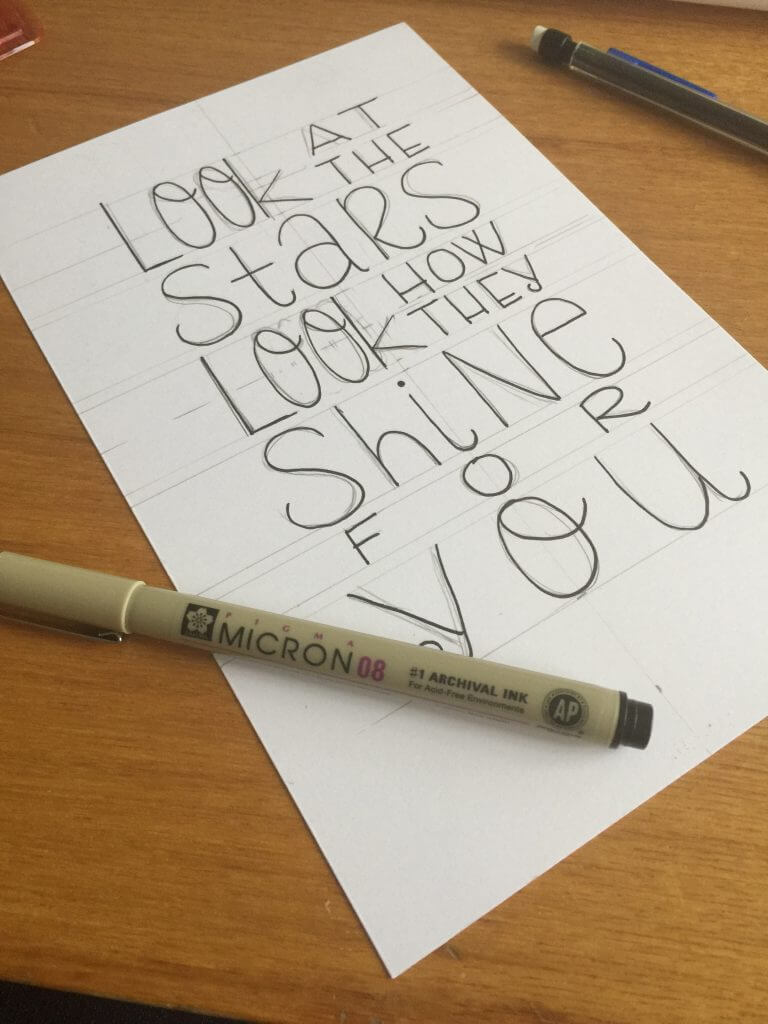
Now, it’s time to ink it in. I chose my trusty .08 black Micron for this one. I got mine at Michael’s but Amazon carries them in all sizes and colors.
Next, we erase all of those extraneous pencil lines.
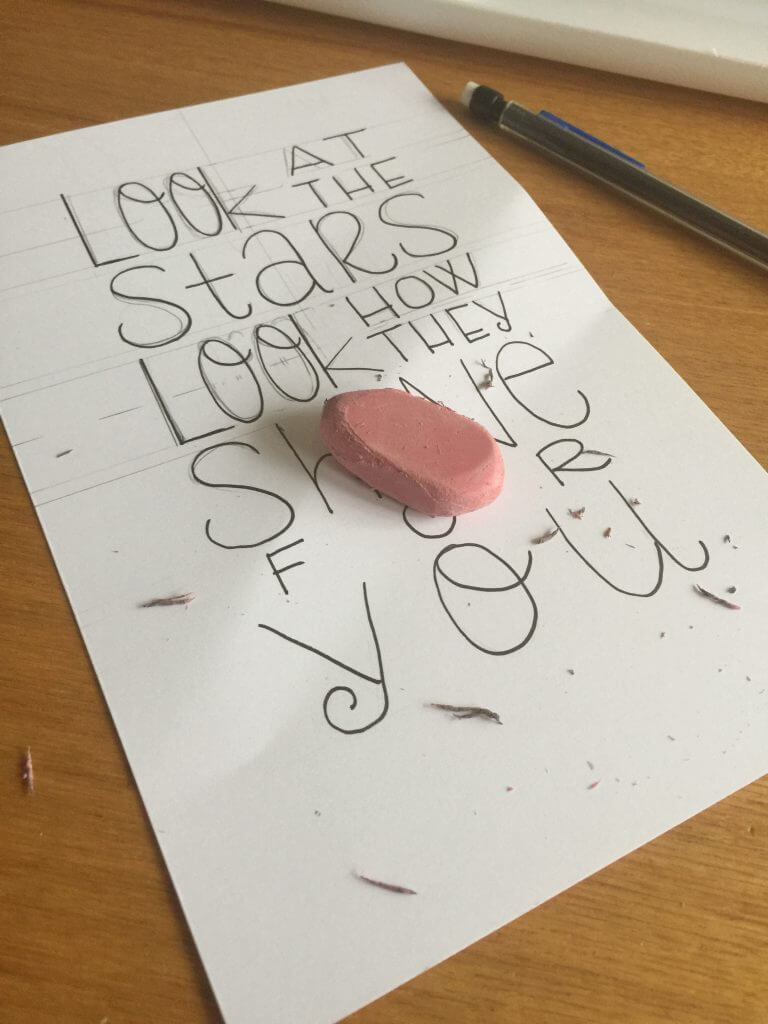
So. Much. Erasing. (And, as you can see, I got a little too aggressive & bent my paper!)
Now, I scan it using an app on my phone. I use this one, but some people just use their phone’s camera. Using this app, I’ll email it to myself. I open it up in Photoshop on my desktop and do some basic clean up and tweaking. (I have a very, very, VERY basic understanding of Photoshop. Maybe I’ll write some posts about my love-hate relationship with it – then you can see how much of an amateur I am at it!)
After that, I send it off to my client (my sister, in this case) for approval!
Are you interested in learning more about lettering? Sign up for updates to find out some of the tips & tricks I’ve gathered!
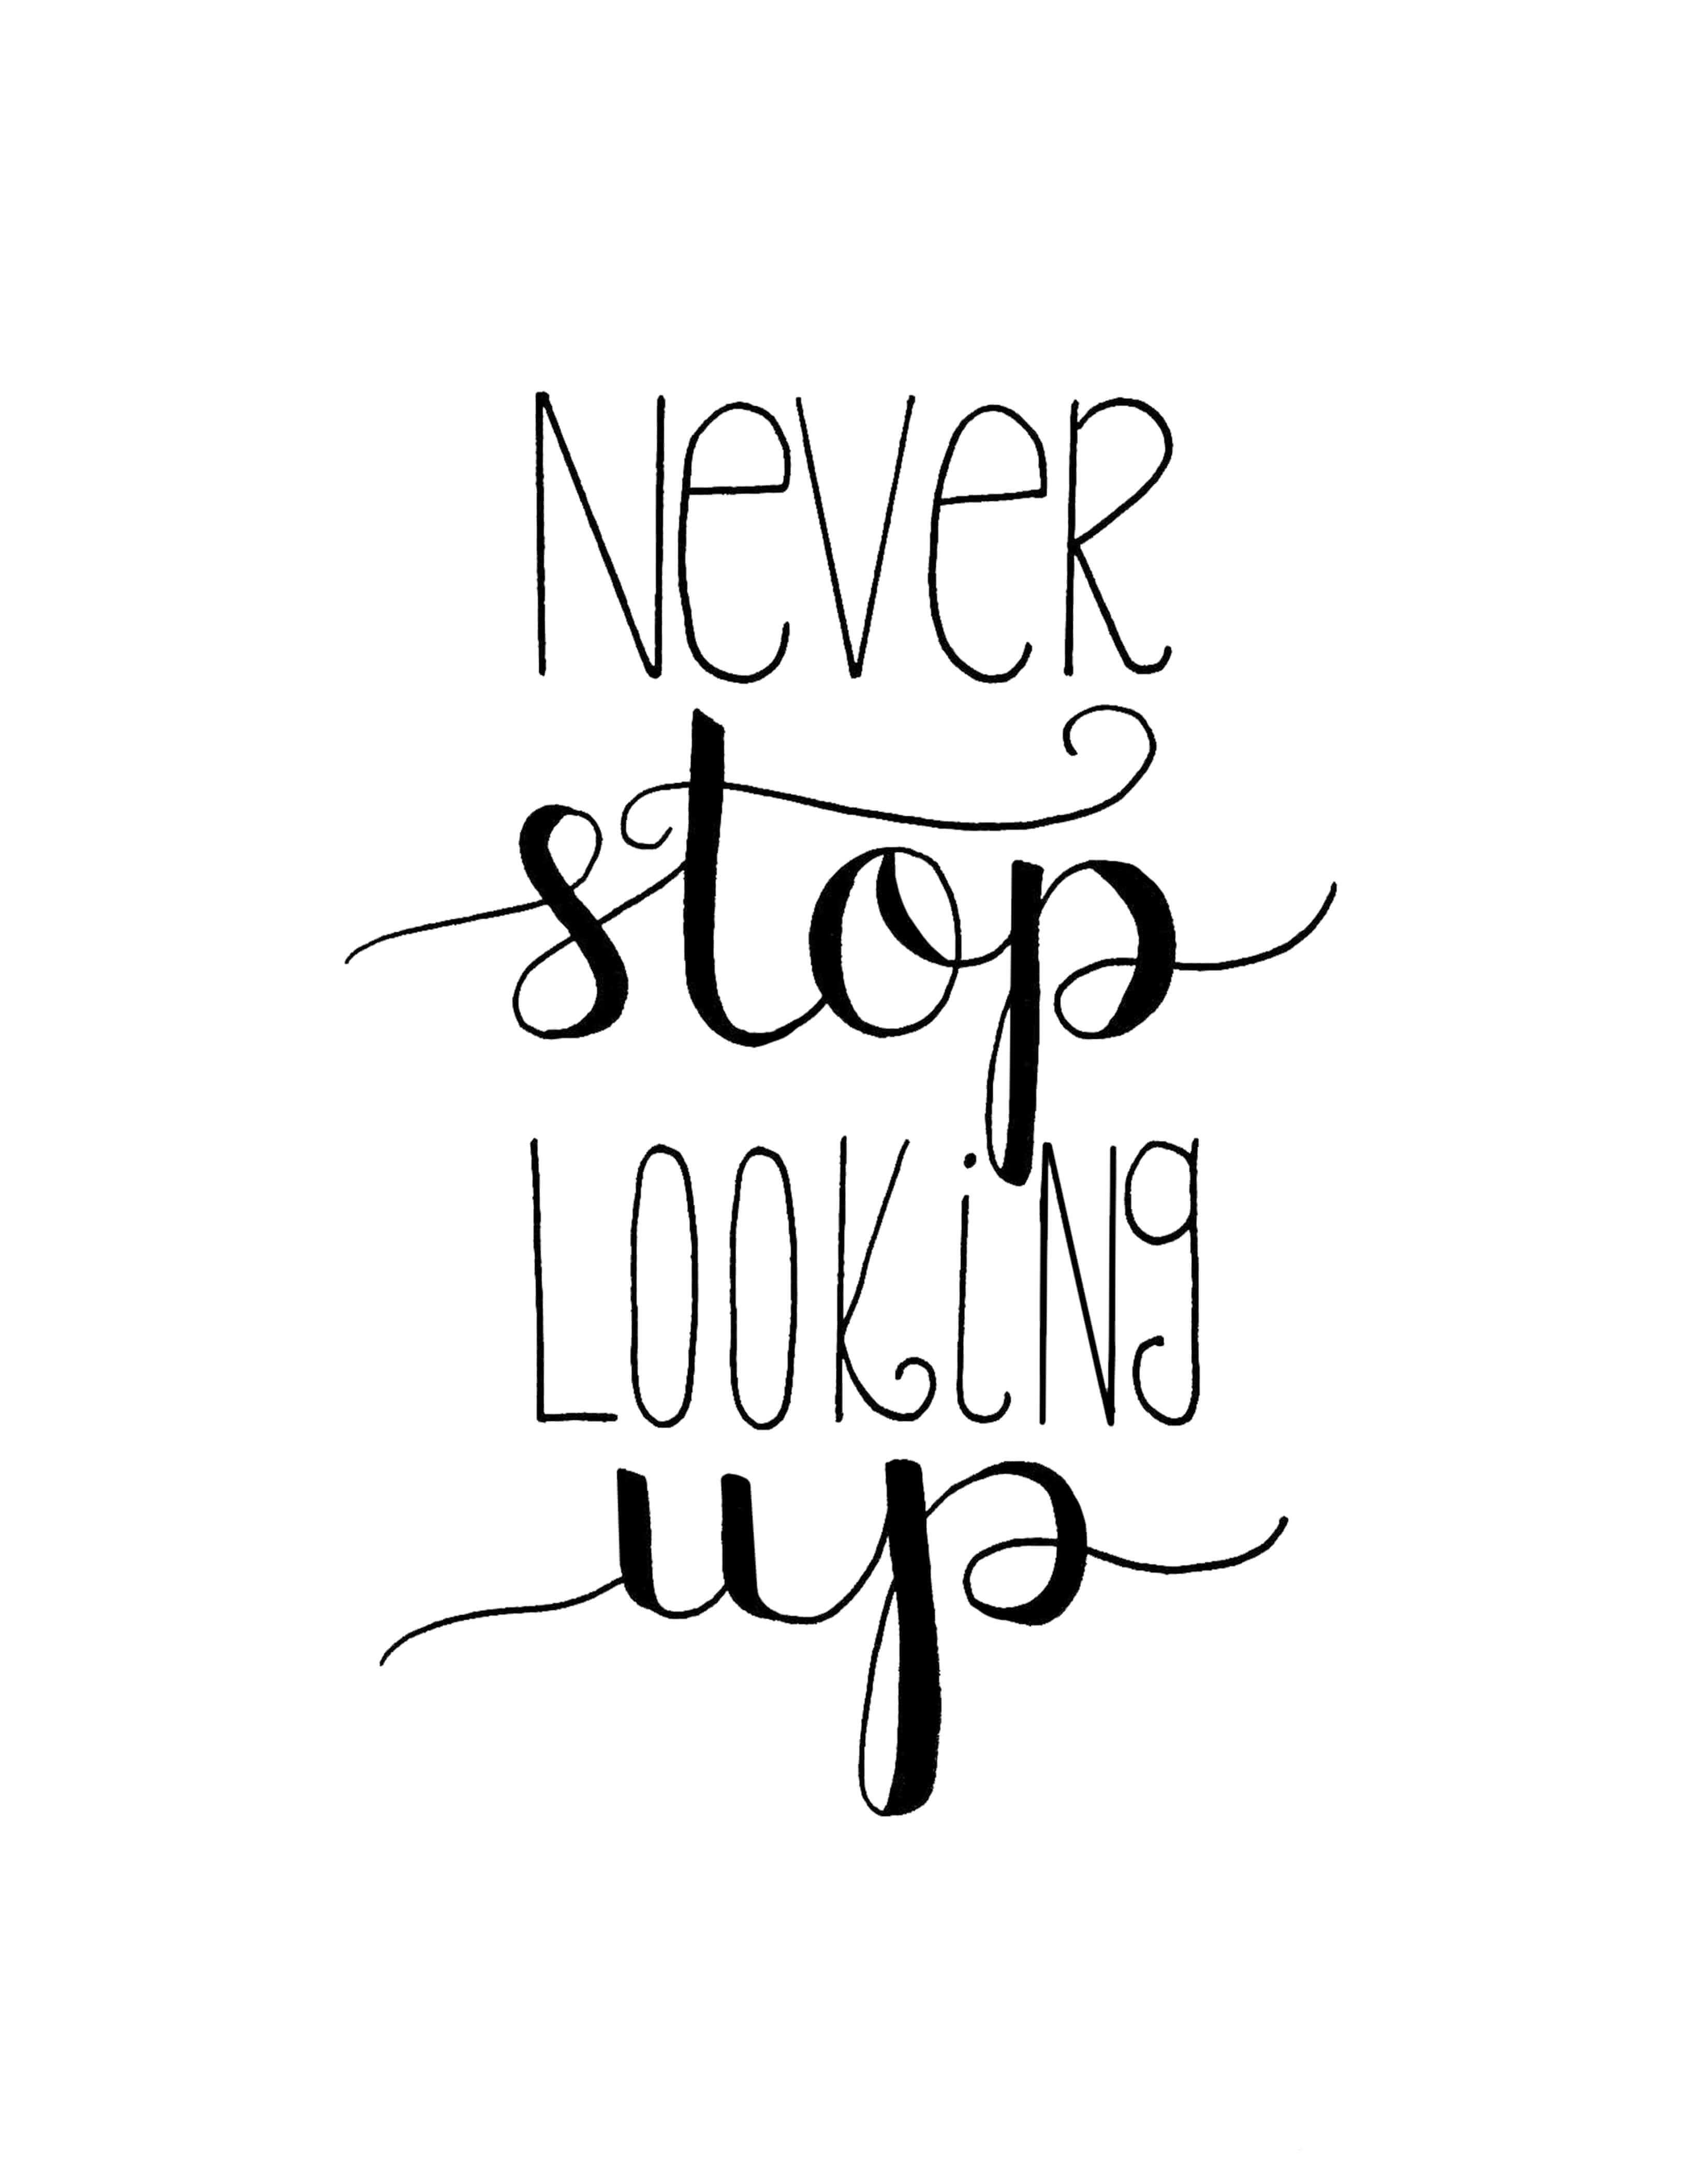
Here are the other pieces I did for the gallery wall in my nephew’s star-themed nursery:
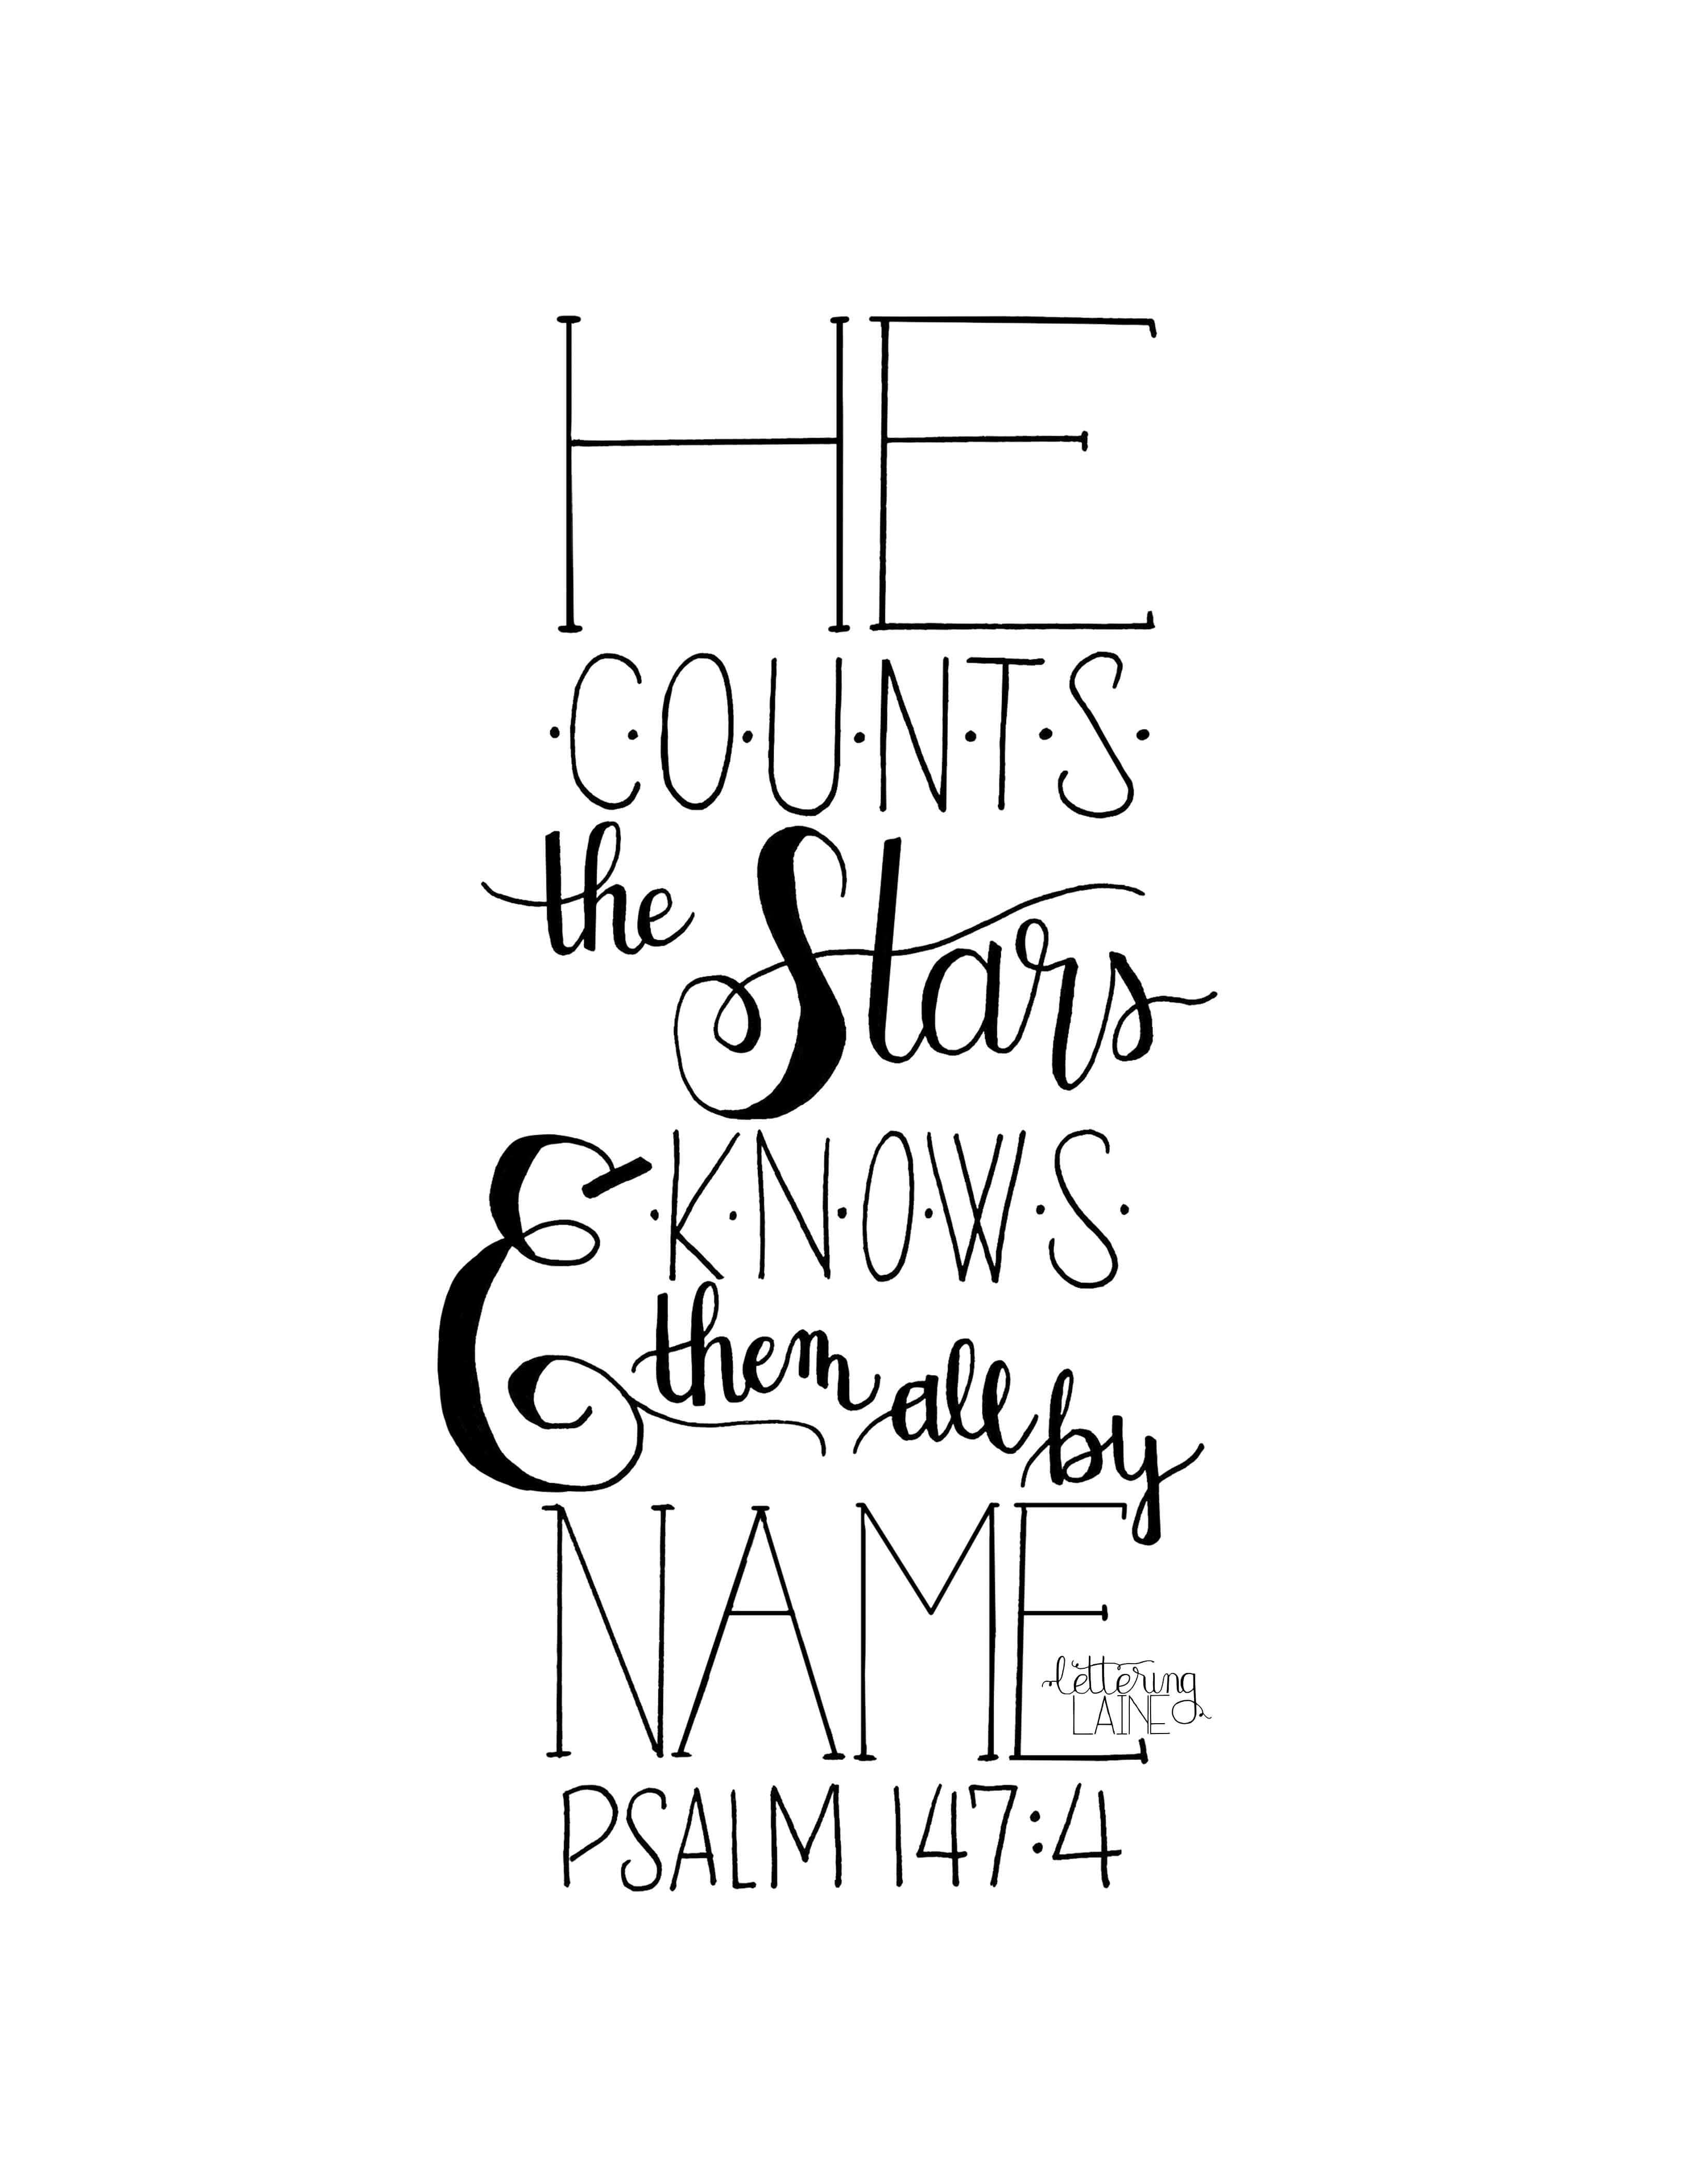
A sweet Bible verse to remind my sweet nephew of how much God loves and cares for His creation.
And this simple piece of advice for him to carry with him throughout his life!
All three of these pieces are in the shop – click directly on the images to find them!
Enter your email to join the list and be among the first to hear about new shop items, special offers and blog posts.

Comments